How to Choose Meters & Gauges for Pressure Washers
What you’ll find in this category
Pressure washer systems use several instruments to measure and monitor performance. The most common are pressure gauges for setup and diagnostics, in-line flow meters to verify GPM, hour/tach meters to track service intervals, and temperature or vacuum/compound gauges for burner output and inlet condition checks.
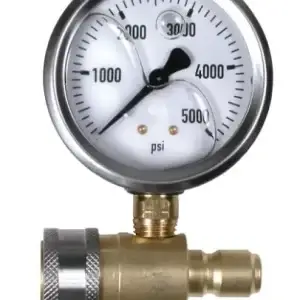
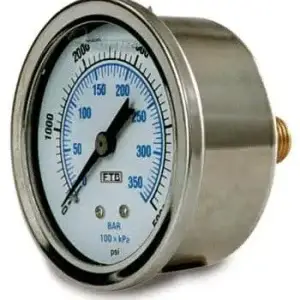
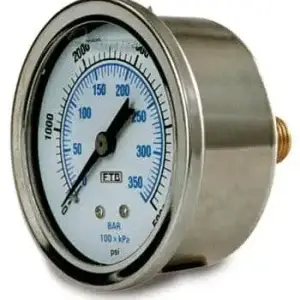
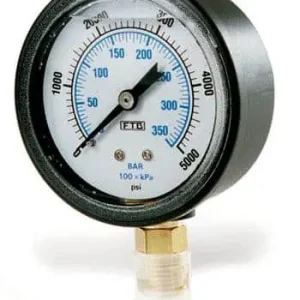
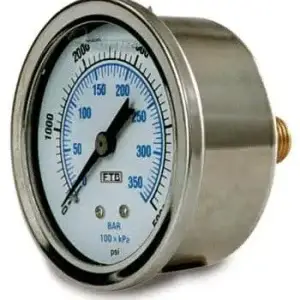
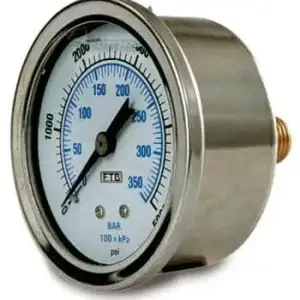
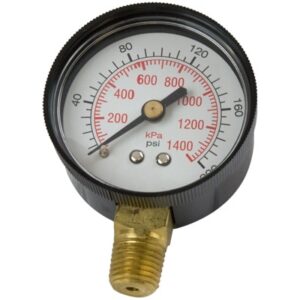
Pressure Gauges
- Analog dial gauges for routine setup and troubleshooting.
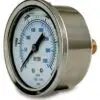
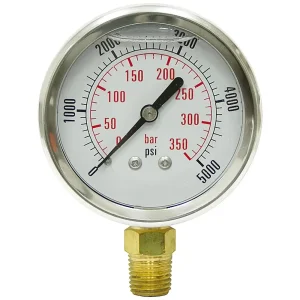
- Choose dry or liquid-filled cases; liquid-filled helps readability in vibration.
- Select a range comfortably above normal working pressure for durability and clarity.
- Common mounts: bottom or back; confirm thread size before ordering.
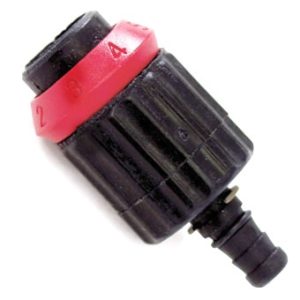
Flow (GPM) Meters
- Used to confirm actual flow when matching tips, unloaders, or accessories.
- Available in in-line styles; check pressure rating and direction of flow.
- Helpful on service carts and test benches to verify pump output.
- Install where straight run and access allow safe reading.
Hour & Tach Meters
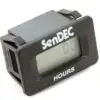
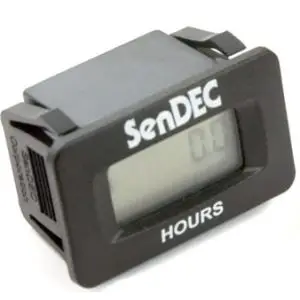
- Track engine or motor run time for oil changes and scheduled maintenance.
- Options include inductive (spark plug wire) and panel-mount styles.
- Useful for rental fleets and commercial crews to document service intervals.
- Verify power source and mounting location before purchase.
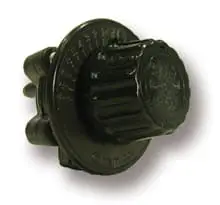
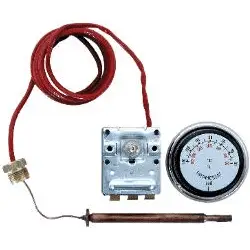
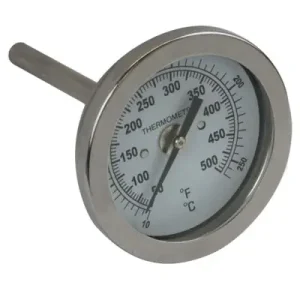
Temperature & Vacuum Gauges
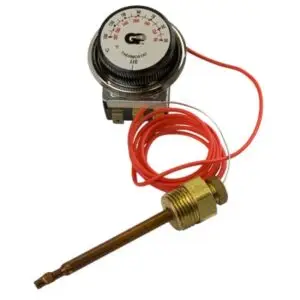
- Temperature gauges monitor burner/coil outlet on hot-water machines.
- Vacuum/compound gauges on the inlet help identify supply restrictions.
- Confirm unit of measure (°F/°C, inHg/psi) and operating range.
- Use appropriate fittings and locate for safe, easy viewing.
Quick selection checklist
- What do you need to measure (pressure, flow, temperature, vacuum, hours/RPM)?
- Normal operating range and expected spikes (choose a compatible instrument range).
- Port location, thread size, and mount style (bottom vs. back, in-line orientation).
- Case fill and readability needs (dry vs. liquid-filled; dial size).
- Environment: vibration, heat, water ingress, and cleaning chemicals.
- Accuracy and durability requirements for field vs. bench use.
Connection and mounting basics
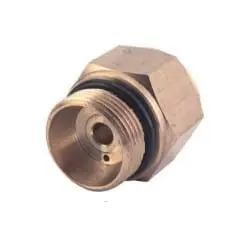
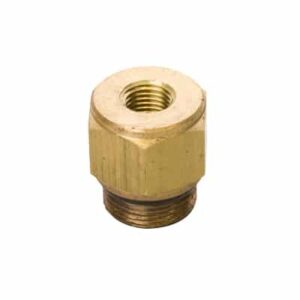
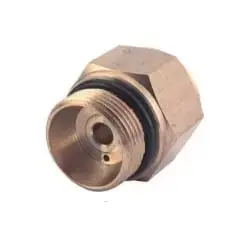
Before ordering, confirm the port size and mounting style on your pump, unloader, manifold, or test rig. Many pressure instruments in our industry use NPT threads and bottom or back mounts. Match the range, connection, and temperature rating to your equipment and installation location.
| Feature |
Typical options |
Where it matters |
| Case fill |
Dry; liquid-filled (e.g., glycerin or silicone) |
Improves pointer stability in vibration; helps readability. |
| Range |
Choose above normal operating level |
Prevents pegging at the top of scale and extends service life. |
| Mount style |
Bottom or back mount |
Matches panel layout or direct mounting on a manifold. |
| Connection |
Commonly NPT threads |
Verify size and sealant requirements before installation. |
| Dial size |
Compact (field) or larger (panel/bench) |
Larger dials are easier to read during setup and testing. |
| Materials |
Brass or stainless wetted parts |
Choose to suit fluid, temperature, and corrosion exposure. |
Equipment selection notes
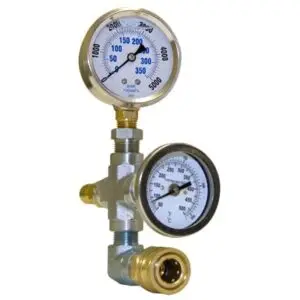
- For setup and diagnostics, a test gauge placed near the end of the hose accounts for pressure loss through the line and fittings.
- Liquid-filled pressure gauges are often chosen on gas-engine frames and service carts where vibration and pulsation make needles hard to read.
- A snubber or pulsation dampener can help protect gauges from rapid spikes during unloader adjustments.
- On hot-water units, confirm the gauge’s temperature rating and avoid mounting where burner exhaust can overheat the case.
- To check for inlet restrictions, use a compound/vacuum gauge at the pump inlet; rising vacuum under flow suggests a supply or filtration issue.
Depressurize and cool the system before installing or removing any instrument. Use thread sealant rated for the application, support the gauge body during tightening, and verify for leaks under low load before full-pressure testing.
Installation and care
- Mount where the dial can be read safely and without twisting hoses or cables.
- Orient in-line meters with the correct flow direction arrow and provide straight run if required by the device.
- Periodically inspect lenses, pointers, and fittings; replace damaged or unreadable instruments promptly.
- For critical measurements, verify accuracy against a known reference on a regular schedule appropriate to your operations.
Want more how‑tos and setup tips? Visit the PowerWash Learning Center.
Need help matching a meter or gauge to your setup?
Our equipment specialists can help you pick the right range, mount, and connection—and recommend protective accessories for longer service life.
Talk to an Equipment Specialist