
Pressure Gauges
Price
- (12)
- (1)
Showing all 13 resultsSorted by popularity
-

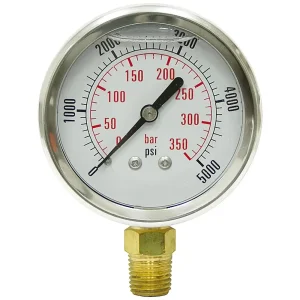
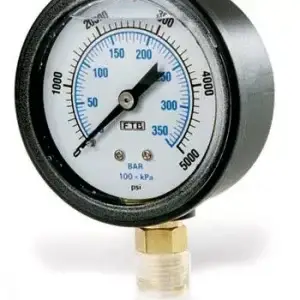
5,000 PSI Pressure Gauge
$36.97 -
-
-
-
-
-
Fuel Pressure Gauge
$23.47 -
-

Digital Pressure Gauge
$340.00 -
-
-
-
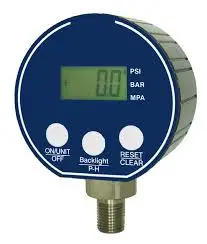
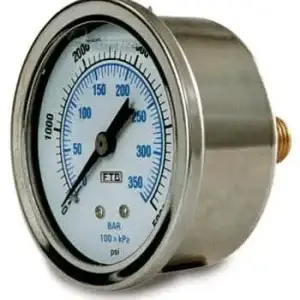
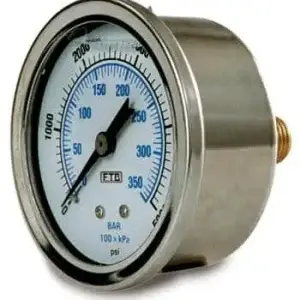
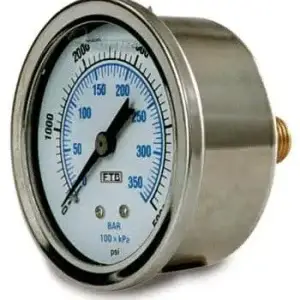
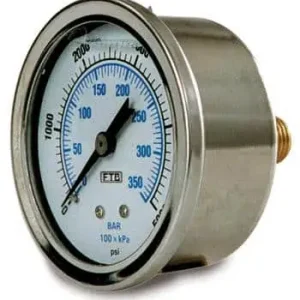
Pressure Gauges for Pressure Washers: Selection and Setup Guide
Adding a quality gauge makes unloader setup faster, verifies that your machine is operating where it should, and helps you isolate flow losses or surging. Use the quick picks below to choose a gauge style, then review sizing and installation notes to get accurate, long‑lasting readings.
Quick Picks
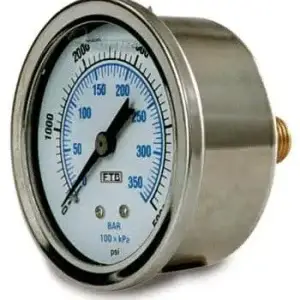
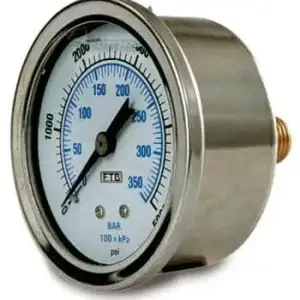
Liquid‑Filled (Glycerin) Gauges
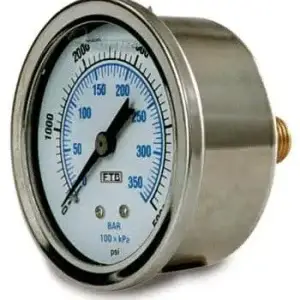
Best for pumps that produce noticeable pulsation or vibration. The fill fluid helps steady the pointer for easier reading and can extend gauge life in demanding service. Common in mobile and industrial washer setups.
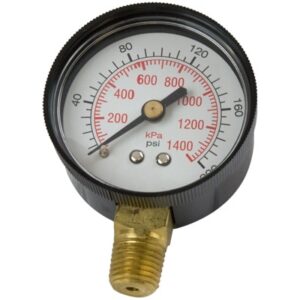
Dry Case Gauges
Simple, economical, and suitable where vibration is low or where wider ambient temperature conditions are expected. Choose a durable case and movement appropriate for outdoor use.
Test Gauge Assemblies
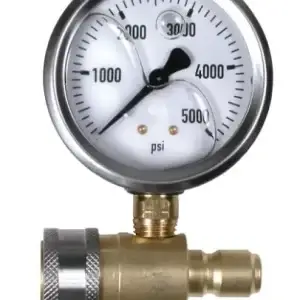
Clip‑in or inline gauges used during setup and troubleshooting. Ideal for setting unloaders, confirming nozzle sizing, and checking pressure drop across hose runs or accessories.
Protective Accessories
Snubbers or small needle valves can reduce pointer flutter from pulsation and help protect the gauge. Use thread sealant compatible with your cleaning chemicals and system pressure.
Size It Right
| Factor | Recommendation | What to Look For |
|---|---|---|
| Pressure range | Choose a full‑scale range that comfortably covers normal operation; many technicians select up to about twice the typical working pressure for readability and headroom. | Examples: 0–3000, 0–5000, or 0–6000 PSI depending on your machine and tips. |
| Dial size | Use 2.5–4.5 inch dials where you must read at a glance; smaller dials fit tight spaces but are harder to read. | High‑contrast scales; dual PSI/bar markings if you work across specs. |
| Connection & mount | Common U.S. process connections are 1/4″ NPT or 1/2″ NPT in bottom or back mount. | Match port threads on your pump, unloader, or test adapter. |
| Application conditions | For high pulsation, add a snubber. For wide ambient swings, confirm the gauge’s temperature rating. | Case style, window material, and fill type appropriate for outdoor wash rigs. |
Install for Accurate Readings
- For unloader setup and pump health checks, install the gauge at the pump outlet or on the unloader gauge port. For line‑loss checks, place a test gauge between the hose and gun.
- Set pressure with the correct cleaning tip installed and the trigger pulled. Do not deadhead the pump.
- Use thread sealant rated for your system pressure; do not overtighten. Position the dial so it’s readable during adjustment.
- In high‑pulsation applications, use a snubber or a small needle valve ahead of the gauge to stabilize the pointer.
To reduce pointer flutter and extend gauge life on piston pumps, pair the gauge with a snubber and mount it where vibration is lowest.
Do not expose a liquid‑filled gauge to freezing conditions without proper protection. Freezing can damage the window or movement.
Troubleshooting With a Gauge
- Low pressure with correct tip: Compare pressure at the pump outlet vs. at the gun. A large drop points to hose length, restrictions, or accessories.
- Surging or chatter: Stabilize with a snubber; verify unloader adjustment and adequate inlet flow.
- After‑trigger spikes: Use the gauge while releasing the trigger to confirm the unloader is set within the machine’s limits.
Learn More
- How to Adjust a Pressure‑Trapping Unloader
- What to Do if Your Pressure Washer Has No Pressure
- Pressure Wash Maintenance
Need help choosing the right pressure gauge?
Our team can match gauge range, mounting, and accessories to your machine and application so you get accurate readings and dependable service.